Custom Search
|
Problem:
How can I download TV programs from my TiVo to my computer, and then burn them on DVD?
Versions:
Tivo Stand-Alone Series 1 or 2, or DirecTiVo with software
version 3.0 or later and Microsoft Windows
Transcoding
I learned this after burning a few coasters. Stand-alone TiVos record the audio at 32kHz @ 192bps whereas most home DVD players expect the audio to be at 48kHz. If you don't transcode, the audio will sound as if you were watching an episode of Alvin and the Chipmunks. Go to the Options menu > Audio and under Transcoding and select #5 (48kHz @ 192bps). This is same bit rate that the TiVo records at, so you are not losing any audio quality. TiVo SA owners are the only ones who should have to do this.
VOB-Mux Files
The hard part is over with. Now let's see if you have what it takes to become a professional video editor.
| 39. | Click on the File menu and choose VOB-Mux File(s) . |
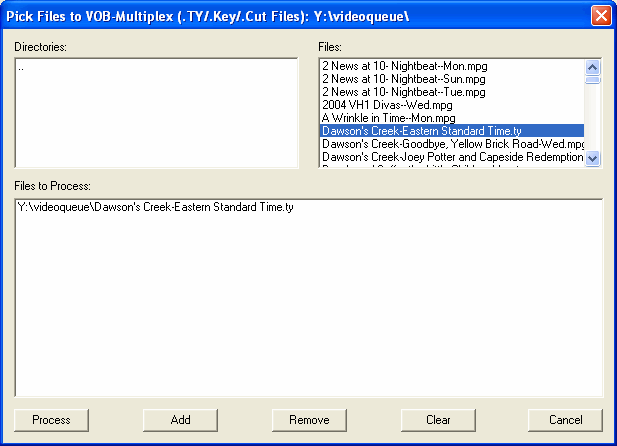
| 40. | You should see a window similar to one below appear . Double-click the .ty files to add them to Files to Process:.
|
| 41. | Click the Process button. You will be back at the main TyTool window. A .vob file is now being generated for each .ty file you selected to process. You can check the progress in the bottom half of the window. This may take a few minutes depending on the speed of your CPU and hard drive. |
When TyTool is finished, open up the .vob file in your MPEG2 (DVD) player. You should see your show minus the commercials and whatever else you cut out. If you are not happy with your video editing, you can go back to step #21 and try again. You can reload your cut list by going to the File menu > Load Cut List... or start from scratch.
DVD Menus and IFO Creation
Let's create our DVD menu...
| 42. | Click on the File menu > Create IFO Files/Dirs. |
| 43. | You should be very familiar with how this window works by now. The .vob file(s) we created earlier should be listed. Double-click the files you want to add to the DVD. |
| 44. | Click the Process button. |
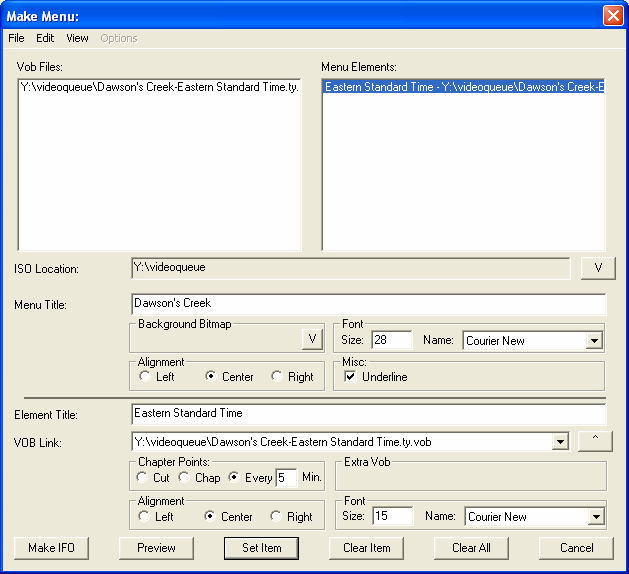
| 45. | The Make Menu window will appear. Skip down to the ISO Location and select a directory to put your DVD image files by clicking on the V button. Keep in mind that several files and directories will be created, so I advise you to make a new folder to put these files in to keep them separate from everything else.
|
| 46. | The Menu Title is what you'll see at the very top of the DVD menu. If you are going to burn several episodes of the same program, you might put the program name here, ex. Dawson's Creek. If you are going to burn some movies, you might title it "Favorite Movies." |
| 47. | At the top, you'll see a list of your .vob files you selected to burn and an equal number of Menu Elements. We are going to tell TyTool in which order we want our programs to appear in the menu. Click on Menu Element 0. |
| 48. | Fill in the Element Title. This particular episode of Dawson's Creek I'm burning is called "Eastern Standard Time," so that's what I'm using. |
| 49. | For VOB Link, select the .vob file that corresponds to the first item you want to appear on the menu. |
| 50. | Click the Set Item button to save the changes. |
Repeat steps #47-50 until all the menu elements are set.
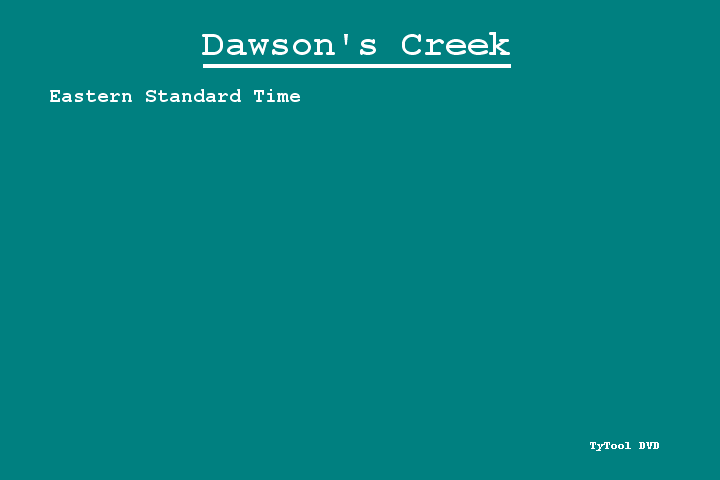
Click the Preview button to see what your DVD menu looks like. Click on the menu to go back to the Make Menu window. Here's what my menu looks like...

There are other options you can configure that I am blatantly ignoring for simplicity. For example, you can change the fonts and use a bitmap (.bmp) file for the background instead of solid green. Check out the TyTool8-Templates.doc in your tytool folder for information on how to further customize your DVD menu. There are some pre-customized templates at tytool.com as well.
| 51. | When you are happy with your menu, click the Make IFO button. A Process Status window will appear so you can monitor what's going on. Command prompt windows may occasionally flash on your screen and disappear into the taskbar as TyTool does its thing. |
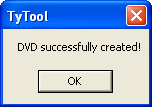
| 52. | Wait for this dialogue box to appear. Click the OK button.
|
| 53. | Click the Cancel button to close out of the Make Menu window. |
| 54. | We are done with TyTool! Click the Close button to exit. |
Last updated May 30 , 2004


